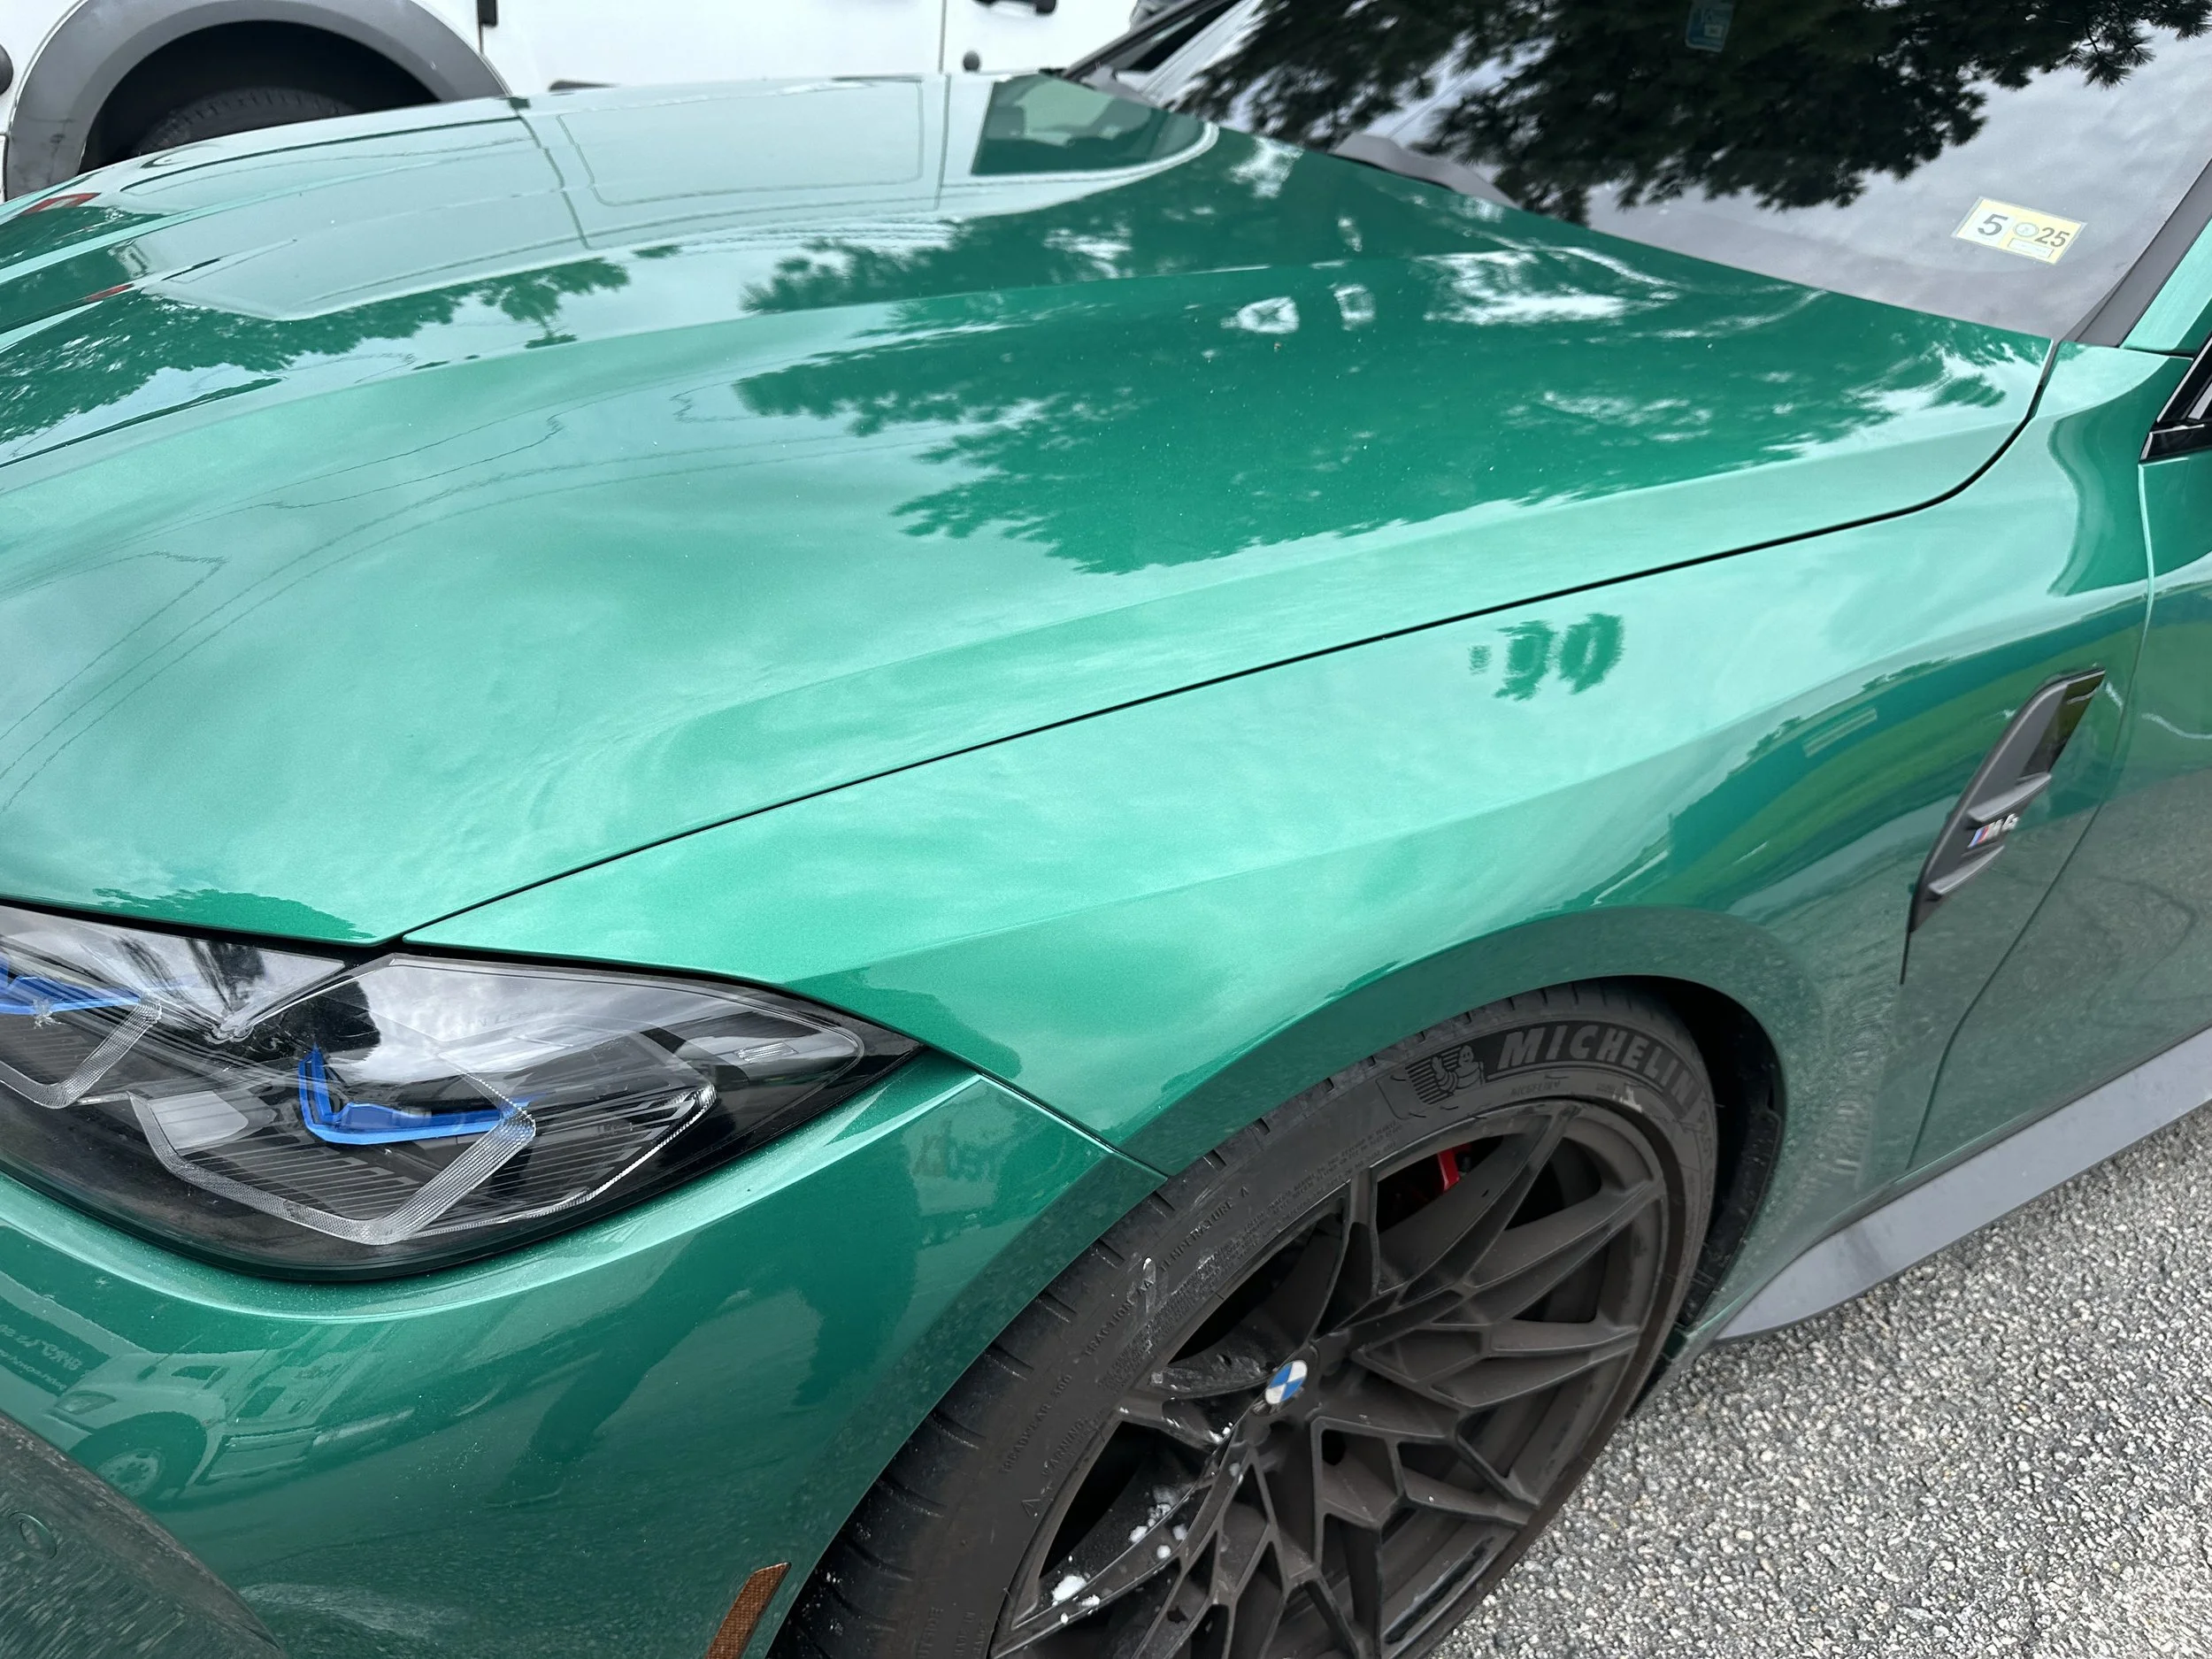
2021 BMW Fender Smash
A customer contacted me recently about a dent he received on his vehicle that he recently bought. After a bit of texting on the phone and some in person conversation I got some photos and the full story. The day after he took the 30 day tags off of his BMW M4 a tree limb fell on his fender. In his words “It made me sick, I couldn’t believe it. I had the car 31 days.” As you can see from the photo the damage was pretty extensive and to be honest I wan’t sure I could repair it. But two other companies had already turned him down and so it was me or the body shop. Neither of us really had anything to lose- either I can fix it or the fender gets replaced, and I like a good challenge.
Just to cover my bases I called a local BMW dealer to find out if the fender was aluminum and how much an unpainted replacement fender would cost. It turned out that the fender was aluminum and the replacement cost for just the part was $1,022. You read that right, over a thousand dollars for the part. Now that I knew the metal type I’d be working on I wanted to see one in person to put together a repair plan. I work a few times a week at a different BMW dealership so I stopped in and was in luck, they had a 2024 M4 on the lot. Not the exact same year but it was close enough. I popped the hood and had clean access to the top of the fender, and the wheel liner was enough to pull down to give me access to the bottom. Quick recap: all around good access, but the fender was aluminum which is incredibly difficult to work on, and this was a monster dent that spanned 2 different body lines.
My overall approach on this repair was to go slowly, take what the metal gave me, use heat to keep the paint from cracking and the metal malleable, and work it from multiple different angles. It might sound crazy, but depending on the direction you look at a dent from you’ll see it differently. I kept moving my body and eyes from the front of the vehicle to the back to ensure I wasn’t missing anything, the make sure the metal was moving back into place in the direction that it was meant to go, and to ensure that the repair was remaining clean.
I started out using lateral tension to pull the dent left and right which relieves some of the pressure that the metal is under. This really did an incredible job of allowing the metal to flow, especially when I was using my blending hammer to knock down the displaced metal that got pushed high during the impact. Once my crowns were knocked down a bit I used a soft and wide mushroom cap on a double bend tool to make my first few pushes. Within minutes the bulk of the dent was moving and the lower body line was back in place. But the real work is in the details and as the dent came out new crowns revealed themselves. In total this repair took me about 8 hours, and it was a dance between pushing low spots and blending crowns down. To be truthful I did make one mistake that I couldn’t come back from; I put an uncontrollable high spot just above the lower body line of the fender. Ultimately I’m the one that made the error but it happened because the fender had sound deadening in that area that I had to push through. As the tip of my tool pierced the deadening I should have backed off on my pressure but I didn’t and I caused a high spot. If I had to opportunity to do it over again I would definitely take the time to remove the sound deadening to reduce the chances of making the same mistake twice. All in all the repair came out great though, and you can check out the photo below to see the results.
You can also check out a video of the repair on my YouTube channel. I do take the time to point out the blemish I caused and give a little insight into how I approached everything as a whole.
